Rotorflight, made very, very easy
Set up and tune a Rotorflight helicopter from your phone, in plain English, with whatever radio you already fly.
The aim: very, very easy
Rotorflight is an excellent flight controller, but setting it up is hard. We want to make it very, very easy. Easy enough that an experienced flyer can set up and tune a Rotorflight helicopter without a laptop, without the Rotorflight Configurator (its own set-up program, for computers and Android), and without learning its vocabulary.
- One lead. The LockDownRadioControl receiver plugs into a Nexus-X, or any Rotorflight flight controller, with one lead. Your sticks go in (Rotorflight calls this link CRSF). Volts, current, head speed and ESC temperature come back.
- One free app. It talks to the receiver by Bluetooth: at the field, in the kitchen, wherever the helicopter is.
- Plain English. "How hard should it start?" rather than gov_startup_time. Rotorflight's own term is there in brackets for anyone who wants it.
You do not need our radio
Fly Rotorflight with Futaba, Spektrum, FrSky, ELRS, Crossfire or anything else. The dongle gives you the same app on the helicopter you already have. Keep your transmitter and your receiver. The one-page guide shows what to do.
Safety: blades off
Take the blades off, or unplug the motor, before you touch anything in the app. Setting up is done on the bench, never with the rotor turning. The app refuses to change anything while the model is armed.
Get the app, and be a tester
It is free, on the App Store and for Android. I would very much like people to try it and tell me what is wrong with it: anything that stops you mid-job, wording that confuses you, anything you expected and could not find.
Needs iOS 16 or later, or Android 8 or later. Both update themselves. Testers can get new iPhone versions first through the TestFlight beta.
- No hardware yet? Try it anyway. Tap Demos on the front screen. The whole app runs against a simulated helicopter: nothing to plug in, nothing to break.
- If something goes wrong, open the Event log page and tap Send debug data to Malcolm. It gathers what the receiver and the app actually did. It never includes a password, but it can include your WiFi network's name (see the privacy page). That one tap tells me more than an hour of questions.
One lead and one USB cable
- The receiver lead carries the flying and the everyday pages.
- A short USB-C cable from the receiver to the flight controller's USB socket adds the Configurator's own channel: every setting, the command line, ports, a factory reset and the black box.
- With both, the app does almost everything Rotorflight's Configurator does. Only flashing Rotorflight itself needs a computer.
- Rotorflight's own scripts on EdgeTX and Ethos radios reach a lot over the lead. The cable adds what a radio lead cannot carry well: the command line, reading the black box and a factory reset.
- The cable costs nothing in the air. The receiver stops talking over USB the moment the radio link is live. It adopts the cable by itself, even with the transmitter on.
Tip: the cable
Buy the shortest one you can, right-angled at both ends, that carries data. Many short USB-C cables only charge. Ours is a Chenyang CY-UC-088-0.07M: 70 mm, flat, USB-C at both ends. Tie it down and leave it in.

What it does
Set up a new helicopter
- Wizards. New helicopter is a 15-step checklist from wiring to the blades-on check, blades off until then. Then do the failsafe and range tests on Build one before it flies. Tuning is 9 steps, one change per flight. Each step is ticked off, per model.
- Ports, without the Configurator. One plain choice per socket, named as printed on a Nexus-X. A new receiver never needs the computer: USB cable in, Ports page, choose "receiver", done.
- Transmitter channels. Pick from lists, or tap Detect and move the stick: the receiver spots which channel moved.
- Switches show what each one does, with the switch's live position.
- Servos and travel. Centre, limits, reverse. Bench measure holds the swash at an exact angle for a pitch gauge.
- ESC. Throttle calibration from the phone. Scorpion ESC settings read and changed through the flight controller (beta).
Tune it
- Sliders where the numbers used to be. How hard it starts, how agile it is, how the sticks feel, softer or sharper. One slider moves the right set of numbers; the numbers stay visible underneath.
- Sliders that never run out. The centre of each slider means the numbers at your last backup.
- All six banks (Rotorflight's profiles), and a choice of how many you use.
- Governor, rescue, rates and PIDs, each in plain words.
- Compare models. Your rates against another model's, from your backups.
- Filters in plain English. Changes take effect at once.
- Read black box. With the USB cable, the receiver reads the flight recorder itself, shows the flight and the vibration, and says which one filter to change. Apply it, or undo it. One change per flight.
- In-flight adjustments. A knob or switch on your transmitter changes one setting while you fly. Set up with the USB cable; afterwards they work without it.
Keep it safe
- Every change is checked. The page says what changed, and confirms the flight controller now holds exactly that.
- Backups on the phone. Two copies per model: yours, and one taken at each connection. Restore to the same model or a new one. Share a tune with a friend: their tune, not your servos.
- Copy a bank in one tap, with the gains adjusted for each bank's head speed. Park a good tune in a spare bank before an experiment.
- Banks that behave. After a phone session, the flight controller goes back to the bank your transmitter's switch selects.
- Telemetry that stays on. A guard stops a fault in Rotorflight 2.3 (firmware 4.6) that can switch telemetry off without telling you.
- A new Rotorflight? The app tells you when one is out, and to back up first.
Find your way
- Find a setting. Type a word or two, in your words or Rotorflight's. Tap a result and the page opens with that setting lit up.
- Help on every page. Press and hold any underlined word to see what it means.
- The command line. Rotorflight's own command line, from the phone (needs the USB cable).
What it looks like
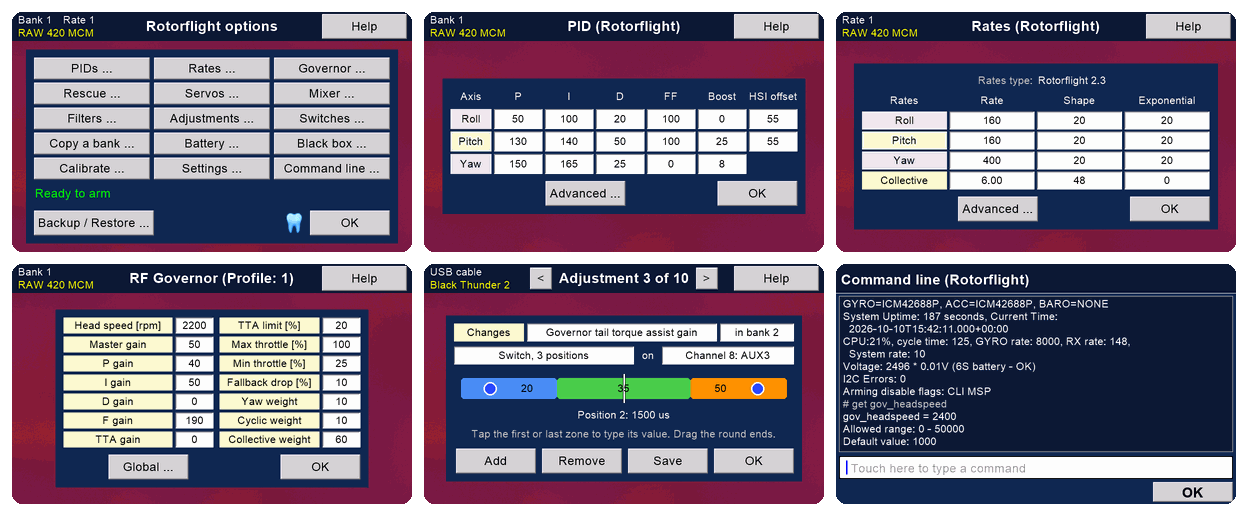
Pictures from the iPhone app. Tap one to see it bigger. The Android app shows the same pages.

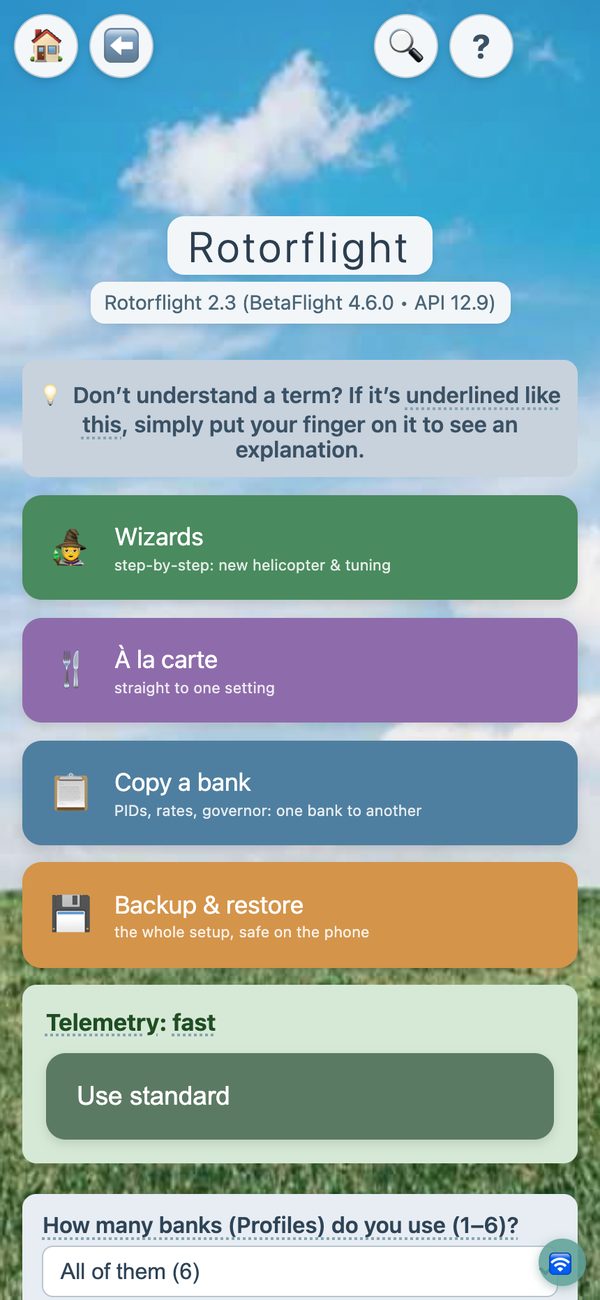
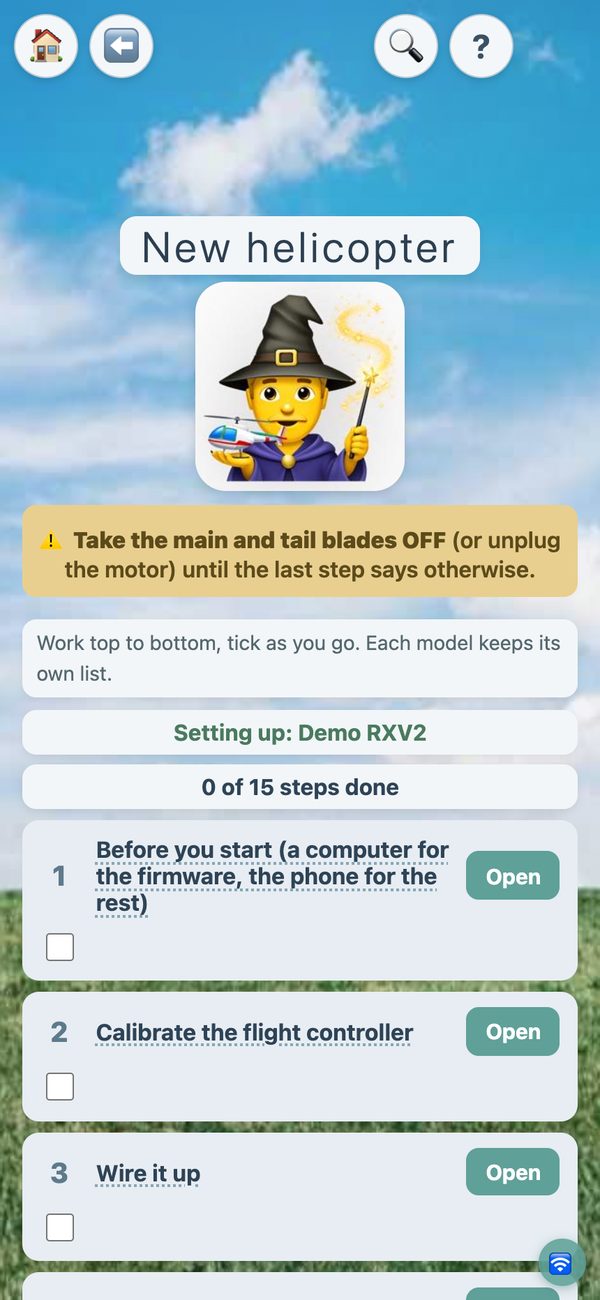
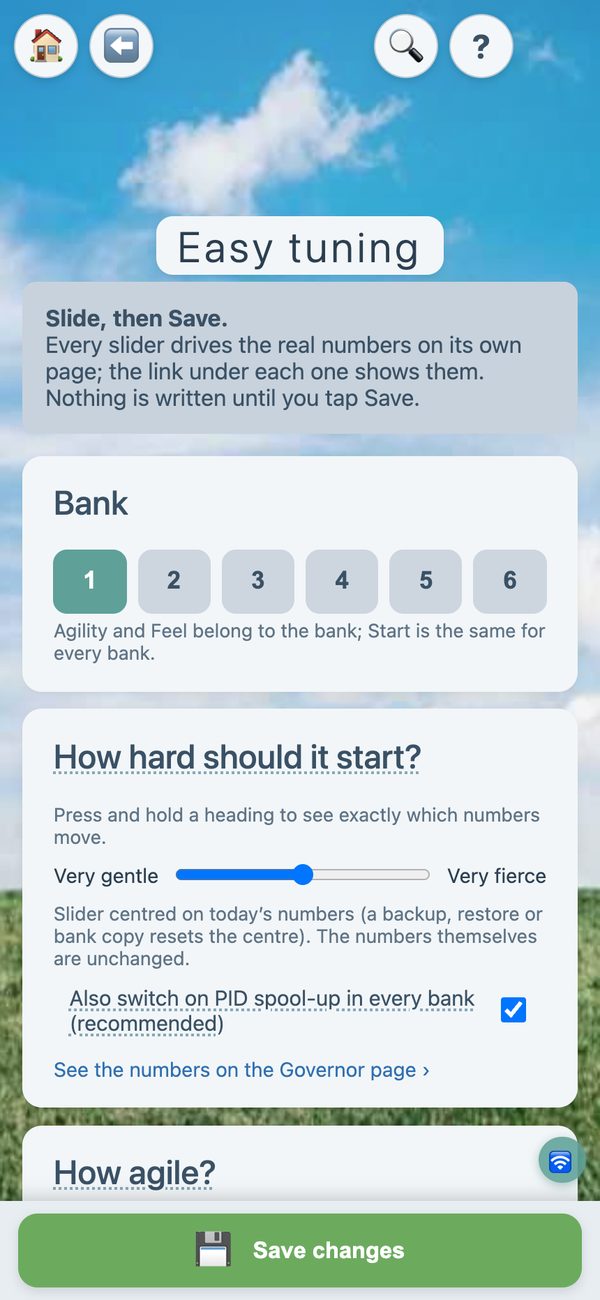
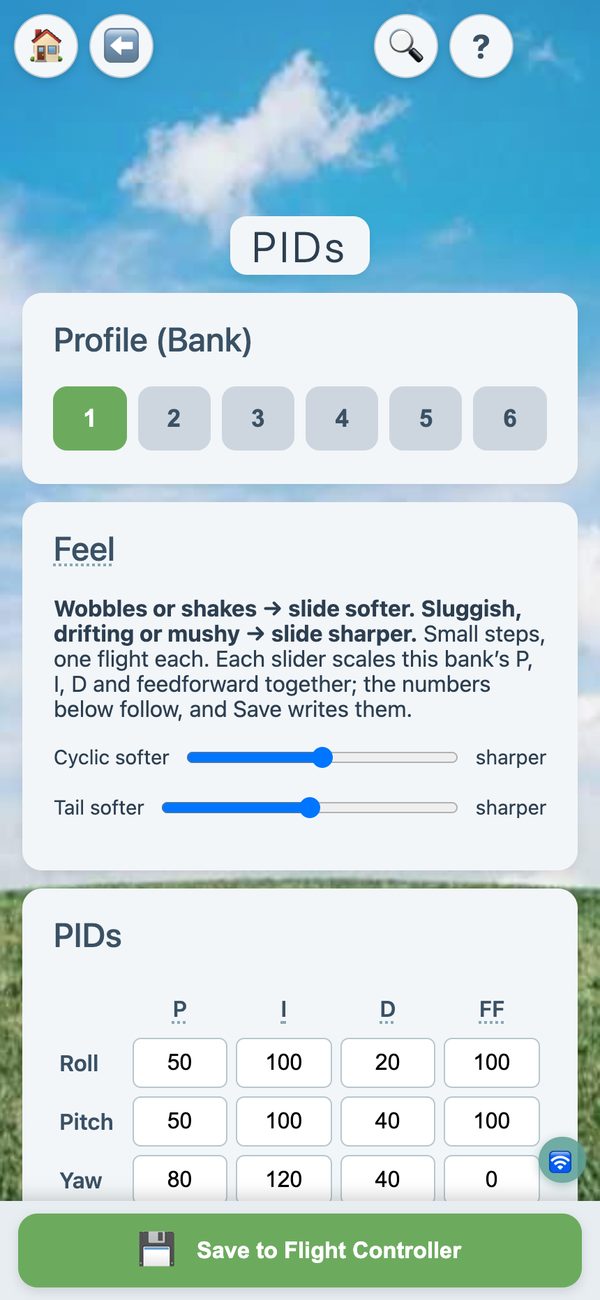
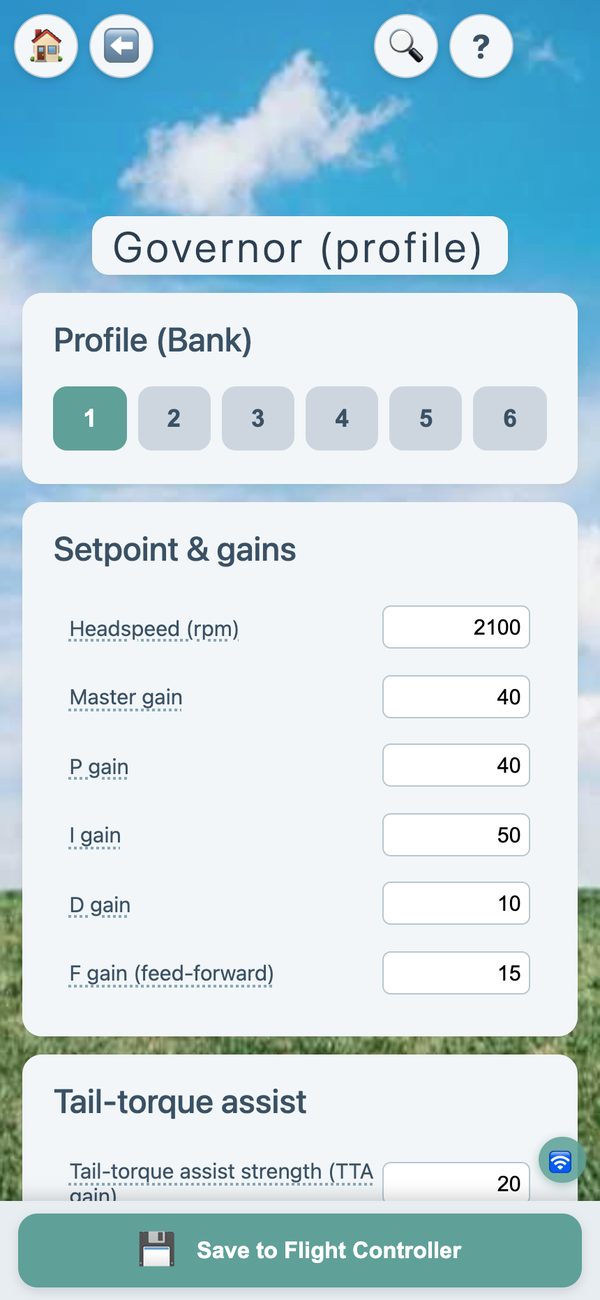

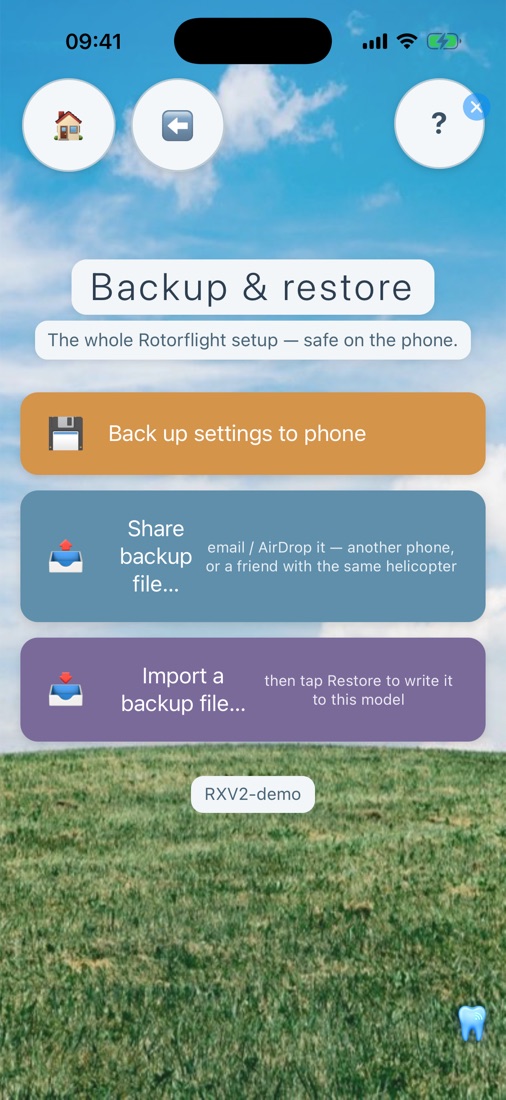
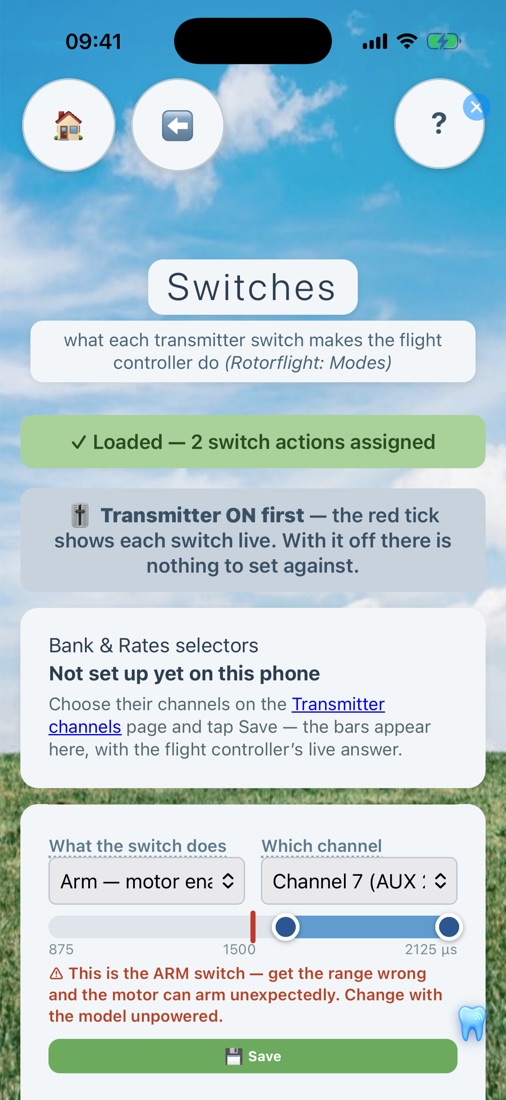
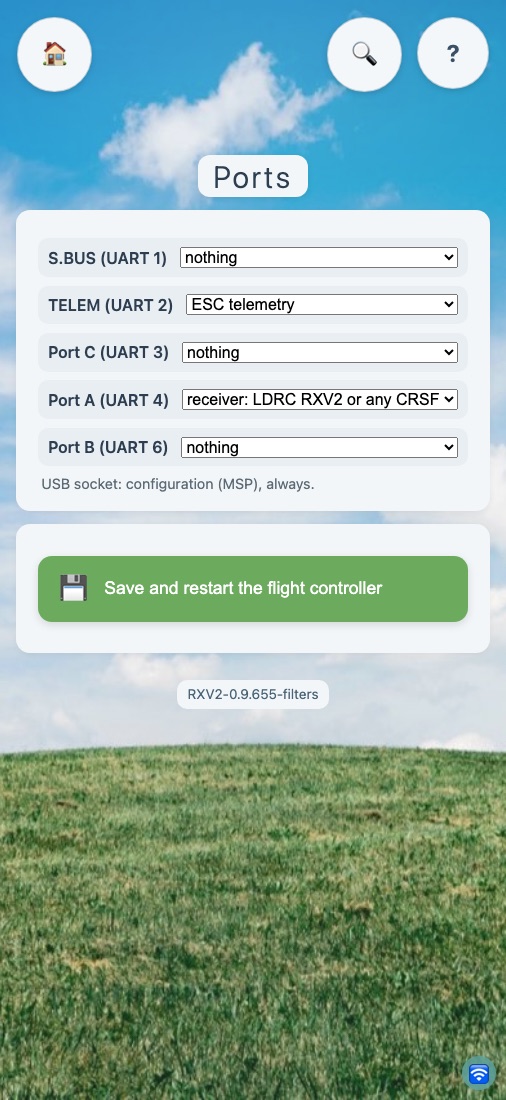
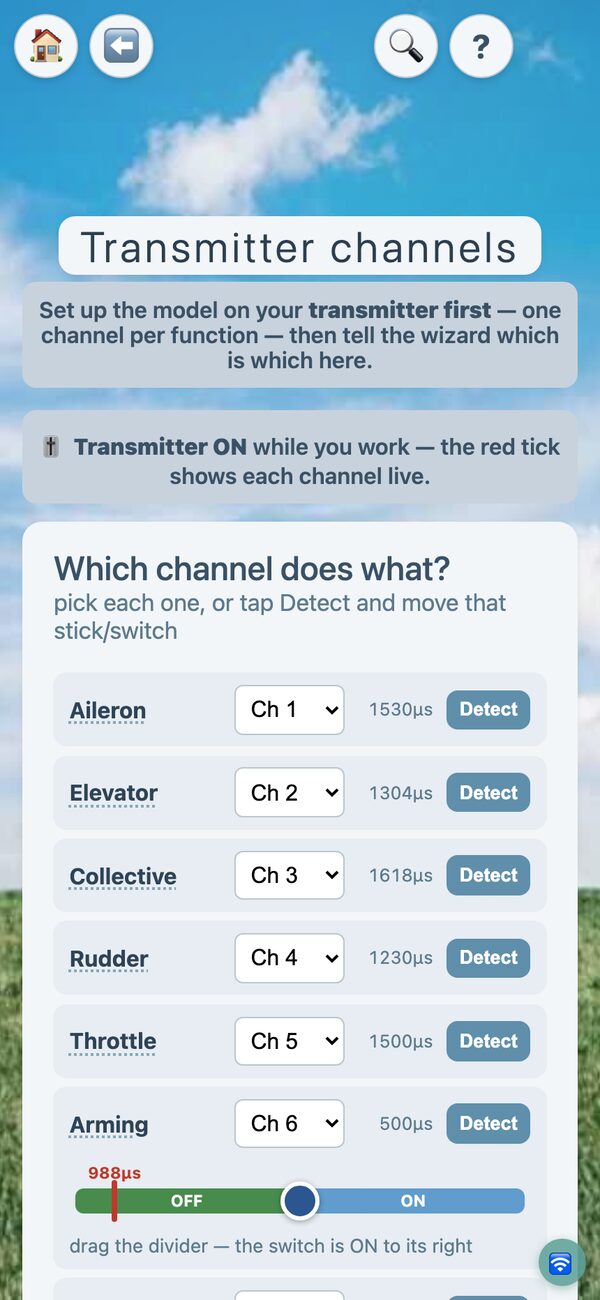


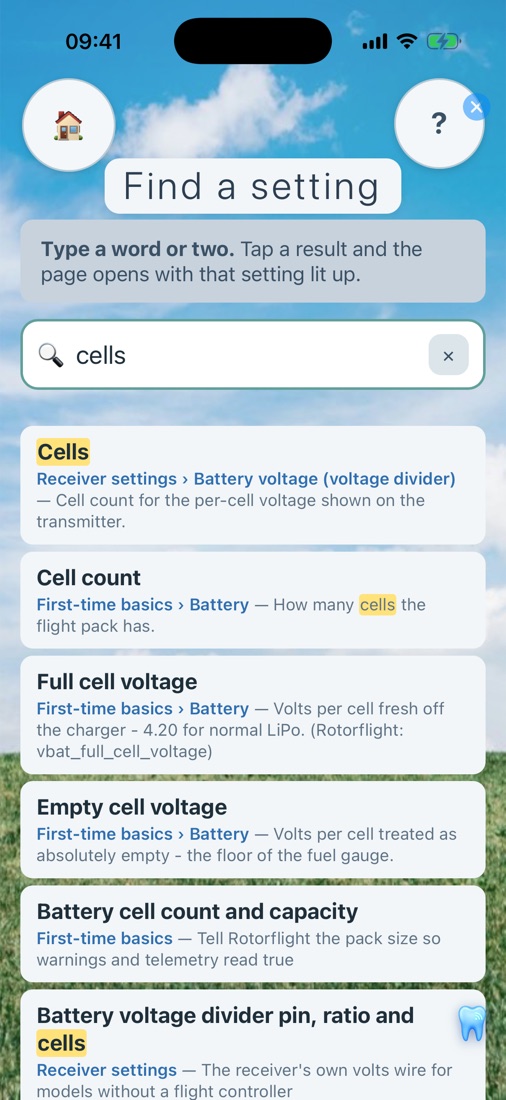
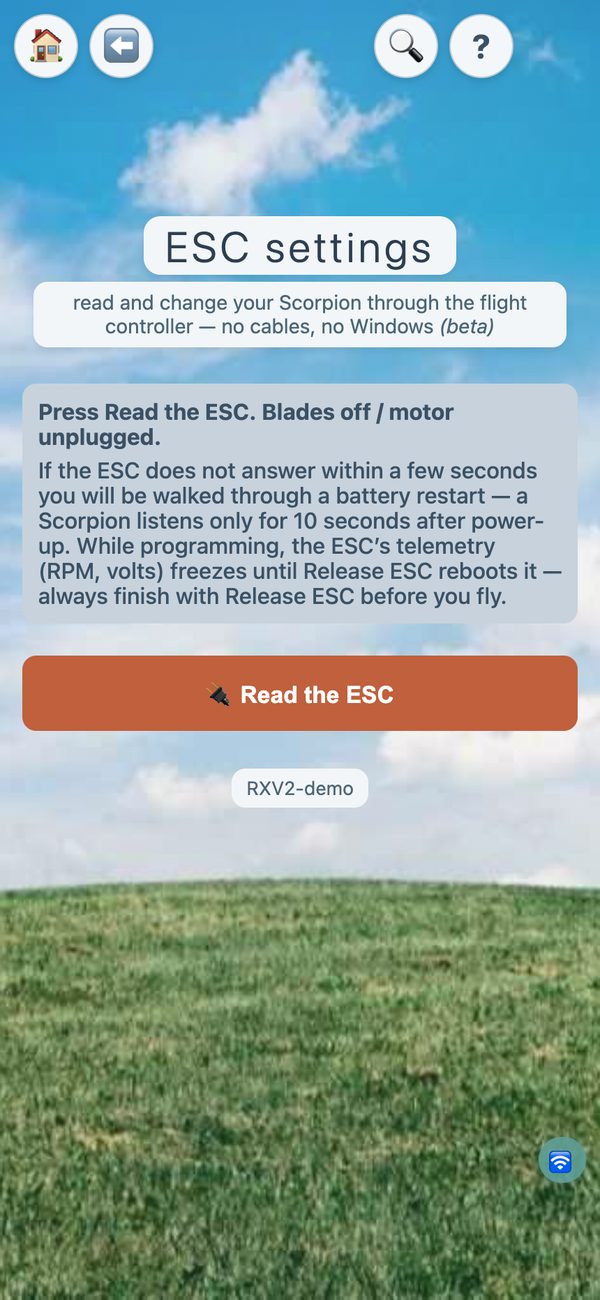

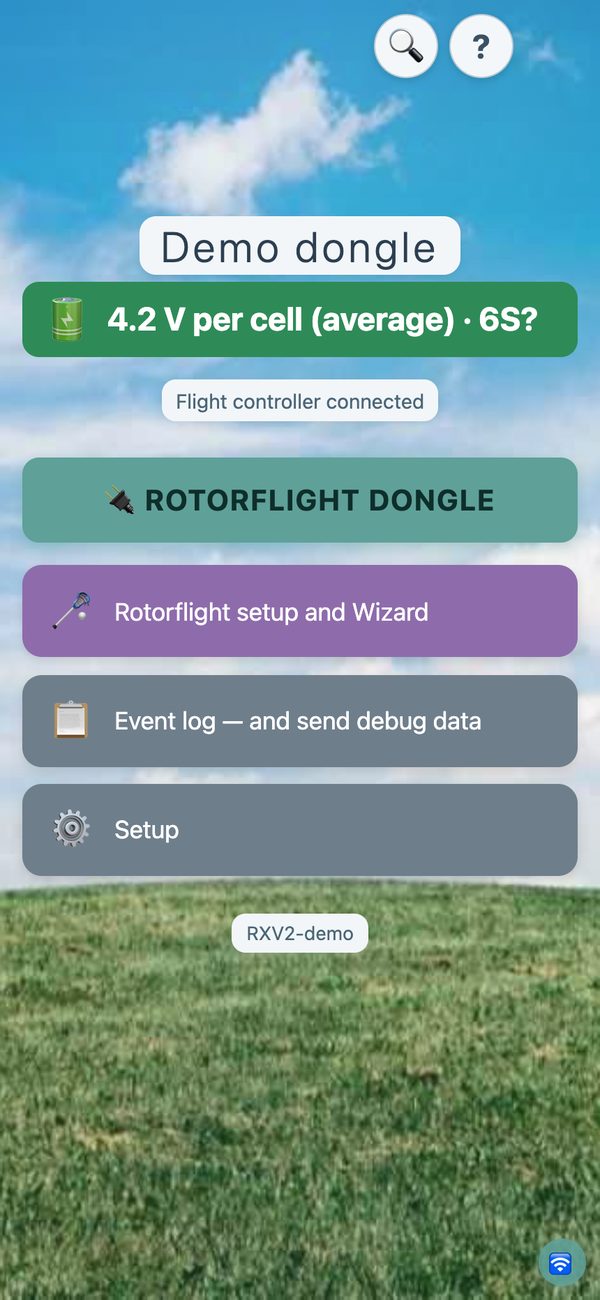
Some pictures come from the app's demo mode, with made-up numbers.
Also on the transmitter
The LockDownRadioControl Version 2 transmitter has its own Rotorflight pages. Change PIDs, rates, the governor, rescue, servos, mixer, filters, switches, adjustments and more, at the field, without the phone.
- It reaches the flight controller through a Version 2 receiver, over Bluetooth, with the model disarmed.
- It backs up the model's Rotorflight tune and set-up, every bank, to the transmitter's card, and puts it back exactly. Ports, LED, GPS and ESC settings are not included.
- The phone is still the place for first set-up: ESC, ports, the wizards and the black-box check.
Flight simulators
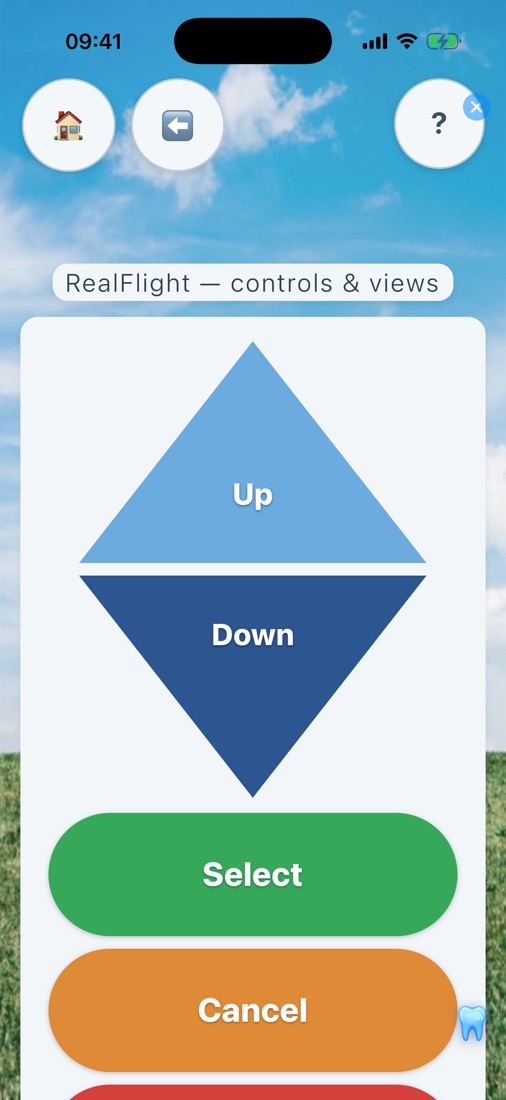
The same receiver flies your simulator. Unplug it from the flight controller first: the computer then powers it. Plug it into the computer by USB and switch it to simulator mode from the phone. It appears as a joystick and a keyboard. Fly RealFlight or neXt with your own transmitter, on Windows or Mac.
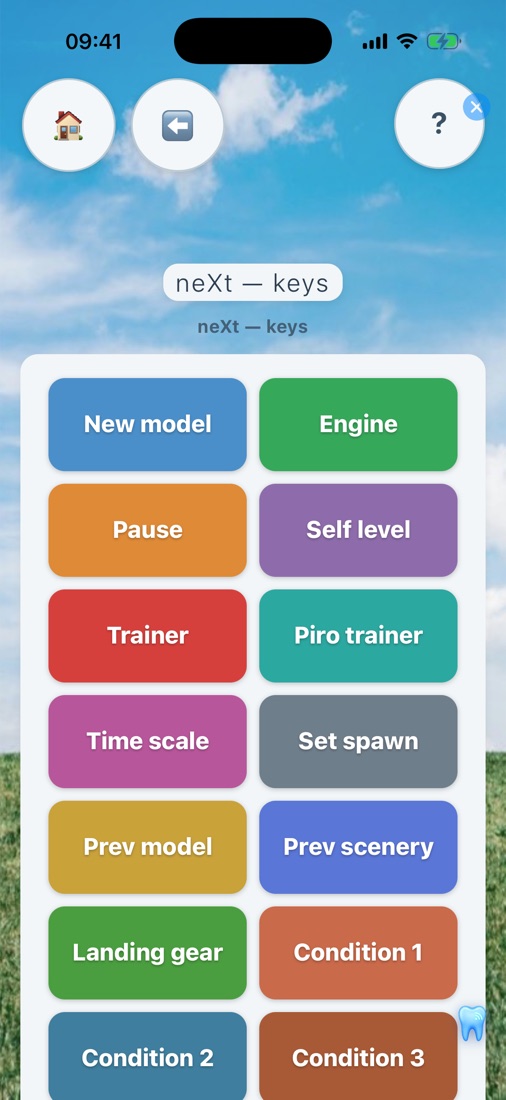
- Simulator buttons from the phone or the transmitter. RealFlight's menu and camera views; neXt's keys. Every key can be changed, and transmitter switches can press them too.
- A slower start in neXt. neXt switches its motor on at once. The receiver holds the start back like a governor, with a kick of tail, and a quick bail-out comes back sooner than a start from the ground. (RealFlight has its own spool-up.)
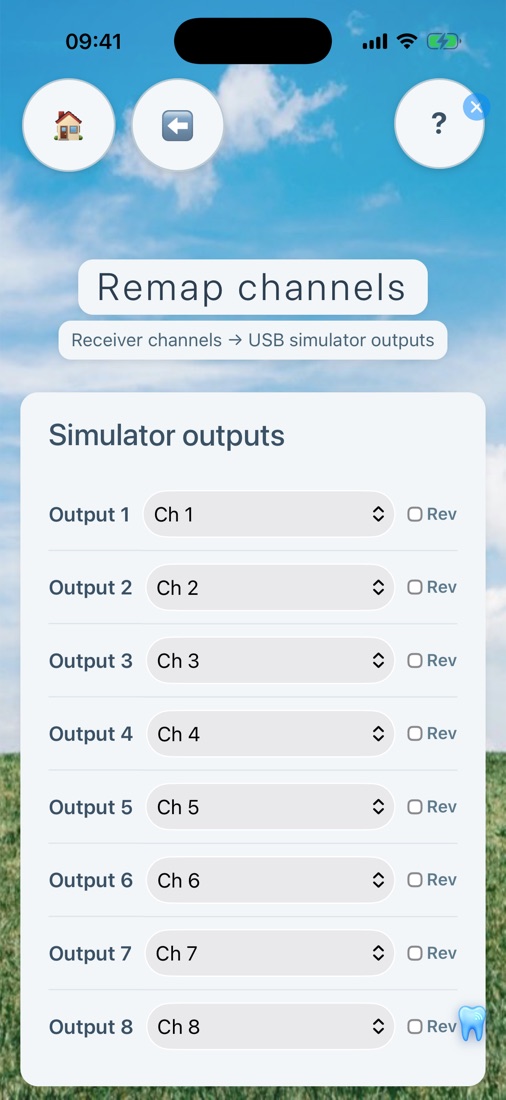
- Channels remapped in seconds, reversed if you like, with live bars.
- Any transmitter: the dongle is a simulator interface too. It turns almost any receiver (CRSF, SBUS, IBUS or PPM, recognised by itself) into the same USB joystick. How it wires up.
Any radio: the dongle
Not everyone wants a new radio. Keep yours. The dongle gives you the whole app on any Rotorflight helicopter, whatever receiver flies it. It is the receiver's little brother: the same brain, no radio.
- By USB: a USB-C cable from the flight controller's USB socket to the dongle, plus its lead into a Nexus-X port B or C for power. Nothing to set.
- By the lead alone, once set up: set that port to "dongle on a wire" on the Ports page.
- It lives in the model, goes quiet when the model is armed, and comes back when you disarm.
- Also a simulator interface for one of your receivers. The computer powers both; no battery, no flight controller.
Power
The dongle takes 5 V from the flight controller only. Never plug a charger, power bank or computer into the dongle's USB-C socket while it is in a model.
Loan dongles: ask me for one.
Updates over the air
The receiver updates itself
New receiver software is published on this website. The app tells you, and one tap installs it, pages and all, over Bluetooth at the field or WiFi at home. Your settings and backups are kept.
So does the transmitter
The Version 2 transmitter updates itself from the internet with one button, over its own WiFi. It can update the receiver too, with no phone. More about the transmitter.
On a computer? The same set-up pages open in any web browser over the receiver's WiFi. Phone, tablet, computer: one set of pages, one way of working.
Free and open
LockDownRadioControl is free and open source. The Version 2 receiver, transmitter and app are in the LDRC_V2 repository. The original Version 1 transmitter and receiver are in the LockDownRadioControl repository. Both are free to use and to change: the code under the GNU General Public Licence, the boards, pictures and help texts under open licences too. More about the source and licences.
Try it
If you fly Rotorflight and would like to try it, get in touch. Receivers are inexpensive to build, and I am happy to help. How to build one.